Last week, Whole Foods was having a sale on bunches of kale. I bought one bunch and brought it home to make some kale chips, thinking I could bring them into work for a mid-afternoon snack. Things didn’t work out so well (or things worked out TOO well); as soon as they came out of the oven, we devoured all of the chips and I didn’t have time to run to the grocery store to buy more! These are amazing right out of the oven and they do keep for a bit, but they probably won’t last.
Ingredients for Kale Chips
1 bunch of kale
1 tablespoon of sea salt
2 tablespoons of olive oil (or Pam)
Any spices you’d like to add (garlic powder, chili powder, etc)
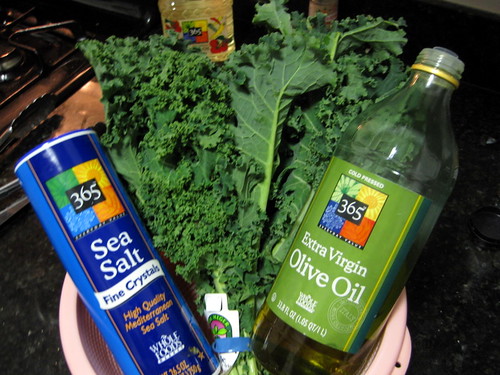
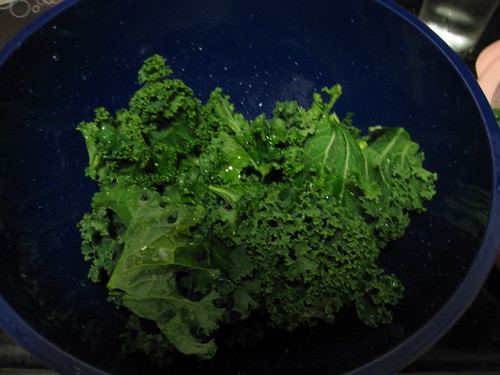
Wash the kale (if you have a salad spinner, use it!) and place it with the sea salt and olive oil (and other spice) into a bowl:
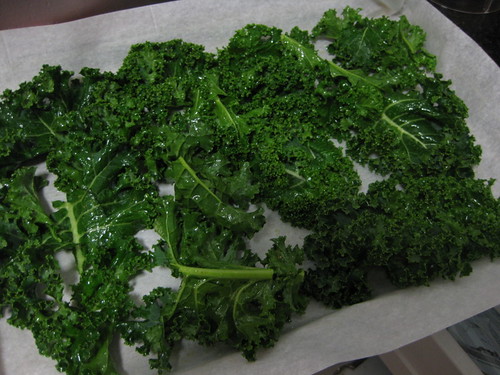
Combine all of the ingredients together and make sure the kale is coated with the olive oil and spices. Place on a baking sheet with parchment paper:
Place the kale into the oven (preheated to 400 degrees) and bake for 10 minutes. The kale is done when it’s dry – be sure to keep an eye on it around the 8 minute mark because it turns brown really quickly:
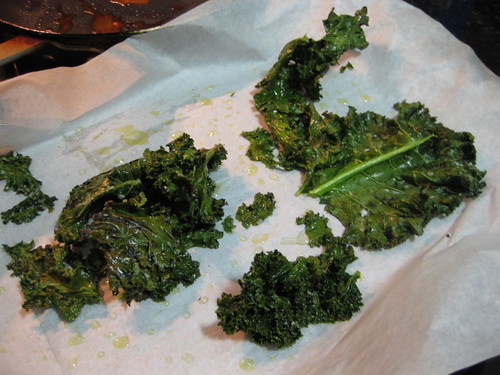
Kale is very high in fiber, vitamin c, lutein, and antioxidants. Baking them into “chips” makes it fun to eat and I’m sure it’ll garner some interest from your kids (or pesky eaters). Kale comes out of the oven very crisp and they taste really great if you add some sea salt (and pepper) to them.
By
grace.g.yang
· January 17, 2010
Under:
My Life My good friend, Blake Kurasek, is an architect in the city and did his masters on vertical farming. It’s gotten a lot of press (his work was featured in numerous magazines, movies, and even The Colbert Report!) This month, he’s in a magazine, Metropolis:

His work is featured in the “H” on the cover and there’s a full spread inside the magazine about the future of holistic infrastructure for our cities. Absolutely awesome!
Yesterday, I posted about how to roast chicken breasts. Today, I’m going to show you what I did with the chicken breasts: Lou and I made amazingly delicious and nutritious chicken wraps! Lou makes amazing chicken wraps that are surprisingly simple to pull off and they are so good that I usually contemplate changing into elastic pants so I can eat a third wrap.
Ingredients for Chicken Wraps
Whole wheat tortilla wraps
Goat cheese
Baby spinach
Tomatoes
Green onions
Roasted chicken breasts (recipe is here)
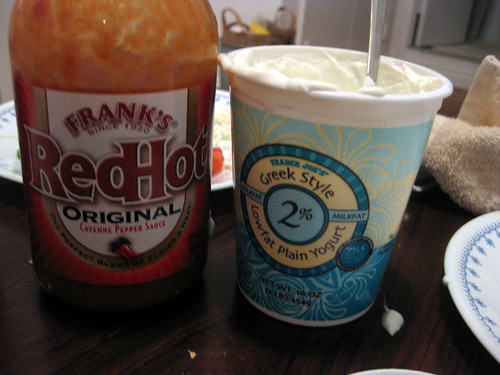
Frank’s hot sauce
Greek Yogurt (or sour cream)
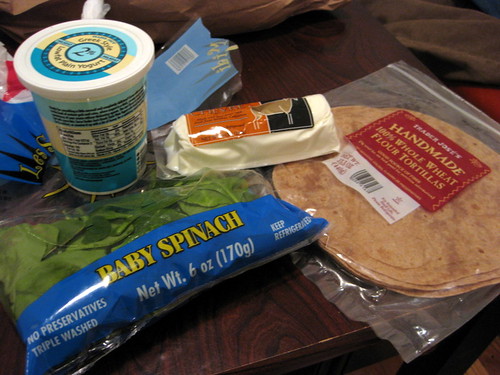
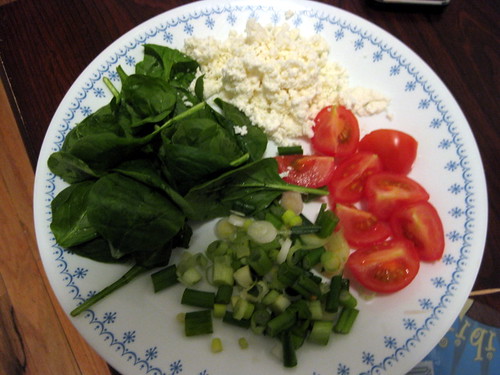
First, chop up your green onions and your tomatoes, wash the baby spinach, and crumble the goat cheese:
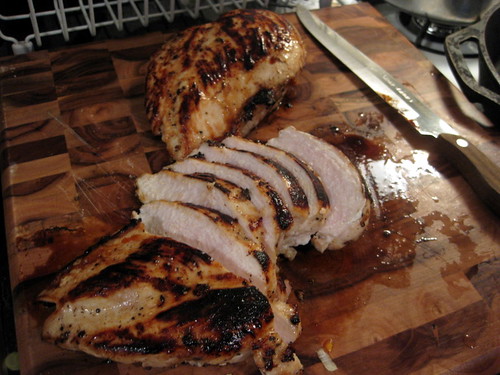
Next, cut the chicken breasts into strips (or chunks, your preference!):
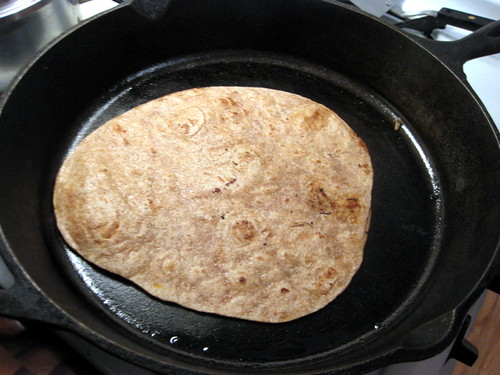
Heat up the tortilla on a cast iron skillet (or in the oven). I like my tortilla wraps to be extra crispy, so Lou usually keeps the tortilla on the pan for 3 minutes (each side):
Place the wrap on a plate and begin assembling – add chicken breasts, veggies, and lots of goat cheese, Greek yogurt, and Frank’s hot sauce:

Wrap it up and enjoy:
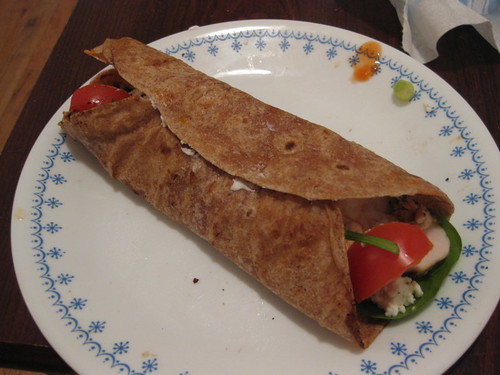
They are seriously delicious (especially with the tangy goat cheese and Greek yogurt) and I could eat these for dinner every night and be a happy camper. Another great thing is that you can mix any veggies you’d like and also add other things like black beans and avocados if you’d like. These are great for a weeknight meal because total cooking and assembly time is under 30 minutes!
By
grace.g.yang
· January 14, 2010
Under:
My Life,
Recipes This is a very simple recipe that will always yield amazing results. I love eating chicken breasts with spinach for lunch and Lou taught me how to properly prepare them. You will need the following ingredients:
Chicken breasts
Sea Salt
Pepper
A skillet (cast iron works the best, but a regular non-stick one works quite well)
Oil

First, season your chicken breasts with salt and pepper (on both sides):
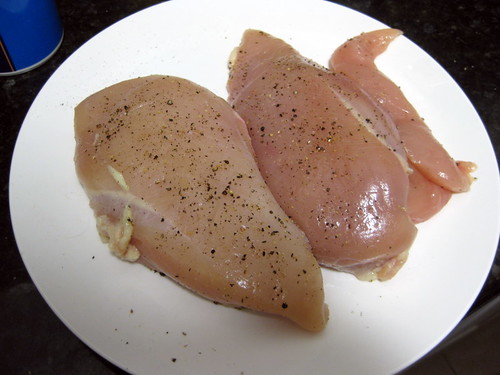
Next, pour some oil on your skillet:

Turn on the heat to high. Wait until the pan gets VERY HOT (but not to the point that it’s smoking). You can tell that the pan is very hot by placing your palm about an inch and a half above the center of the pan. If it’s hot, your pan is ready!
Place your chicken breasts on the pan with a pair of tongs (you’ll also know that the pan is ready because the chicken + oil combination will make the chicken sizzle!):
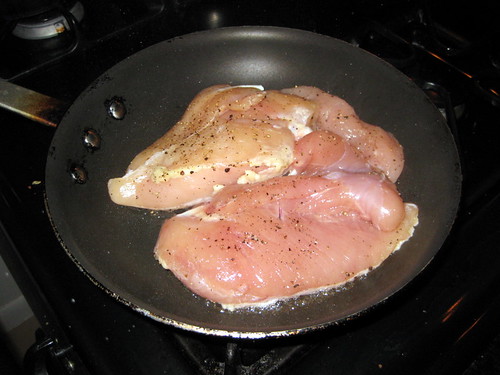
Leave the chicken on one side for 5 minutes. After 5 minutes, the chicken should look like this (the edges will start to turn white but the center of the chicken is still very pink):
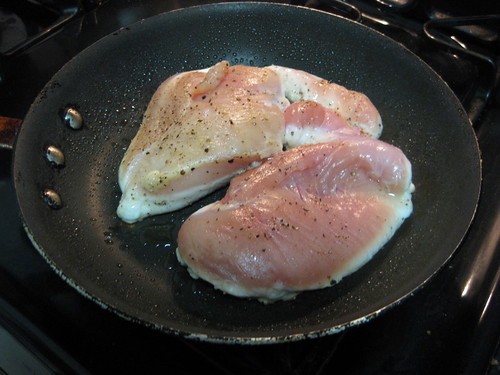
Use a clean pair of tongs and flip those breasts over:
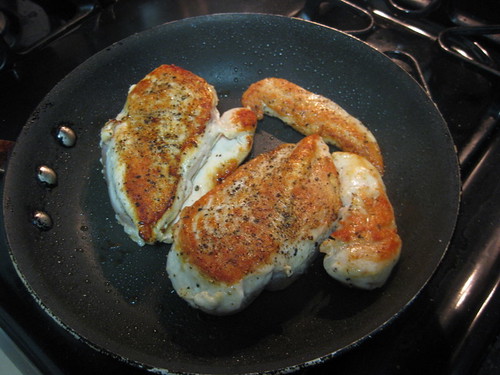
Leave them on the stove for 3 minutes and then transfer the chicken breasts to a 325 degree preheated oven:

Leave them in the oven for 15 minutes (don’t worry, your chicken won’t dry out because we’ve sealed in the juices by browning both sides of the breasts before sticking it in the oven!) When you take the chicken out of the oven, touch the thickest part of the chicken with a knife. If it’s very soft, your chicken is most likely not done yet. Stick it back into the oven for another 5 minutes and check again. After 15 minutes, take them out of the oven and let the chicken rest for another 3-5 minutes so the juices settle (similar to what you’d do with steak or turkey). Our chicken breasts:

Lou and I made this on Monday night and thought it was so good that we made it again on Tuesday night. On Tuesday, we used his cast iron skillet (which produced better results). Here is the final chicken (from Tuesday):

You can eat this with a side of vegetables, in a spinach salad, or just eat it plain! Tomorrow, I’ll show you what we did with the chicken breasts – we made amazing wraps. Maybe the best wraps, ever.
By
grace.g.yang
· January 13, 2010
Under:
My Life 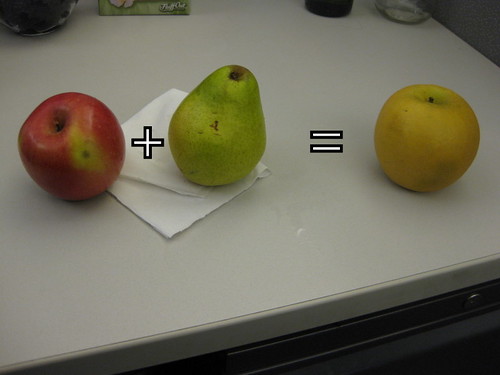
The combination of an apple and a pear make an apple pear! They’re also called Asian pears and they are very delicious. Dorren brought me all three fruits yesterday for my daily fruit intake.
